
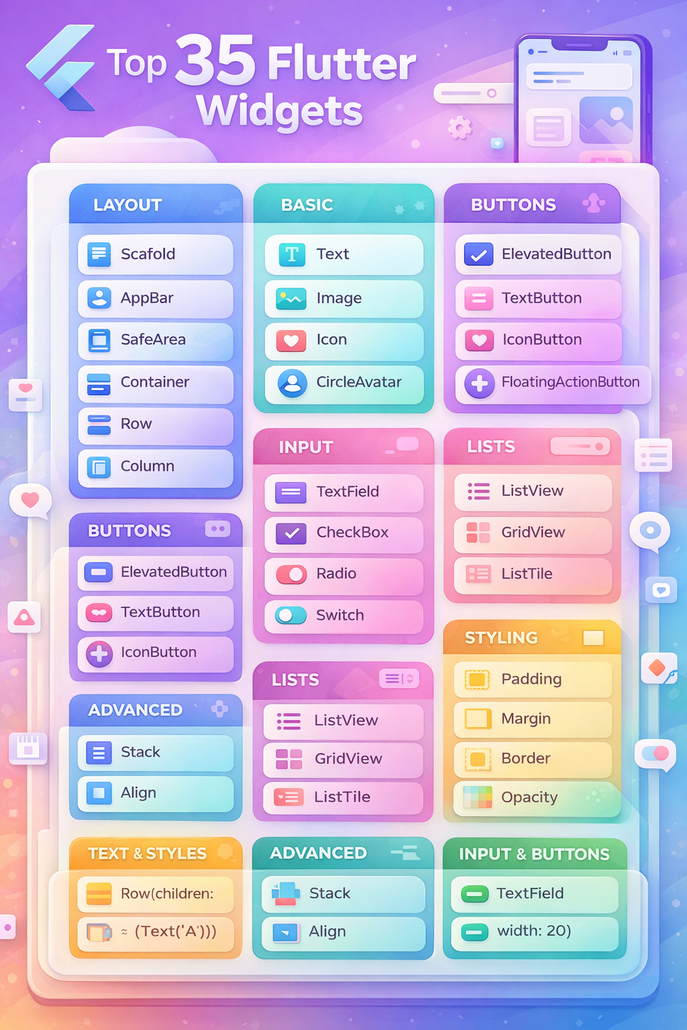
Flutter has a huge widget library, but a handful of
widgets show up in almost every real project. If you
learn these well, you’ll build UI faster, avoid common
layout problems, and create smoother user experiences.
Below is a human, readable walkthrough of key
widgets—with simple, practical examples so you can
immediately see where each one fits.
A great place to start is the Stepper widget, which is
perfect for onboarding screens or multi-step forms.
You typically keep track of a currentStep value, then
update it when the user taps a step, presses “Continue,”
or presses “Cancel.” For example, imagine a three-step
checkout flow: Step 1 collects shipping info, Step 2
collects payment, and Step 3 shows confirmation. With
onStepContinue and onStepCancel, users can move
forward and backward while staying inside one
controlled screen.
Another common UI challenge is when text or content
doesn’t fit inside a small area—like a badge, card
header, or button. That’s where FittedBox helps. It
scales its child down so it fits inside the available
space. A simple example is putting a large title inside a
small container (say, a product tag). Without
FittedBox, the text overflows; with it, the text shrinks
cleanly, even if you later reduce the container height.
For search experiences, Flutter’s SearchDelegate gives
you a complete framework to build a search bar with
results and live suggestions. A simple example is a fruit
list or product catalog. The user taps a search icon,
types “ap,” and instantly sees results like “Apple.” The
same logic works for searching customers, invoices,
blog posts, or product categories. The key idea is that
buildSuggestions and buildResults can filter items in
real time based on the user’s query.
Flutter also makes it easy to match platform styles
using adaptive widgets. When you use Switch.adaptive
or Slider.adaptive, Flutter automatically shows an iOS-
style control on iPhones and an Android-style control
on Android devices. A practical example is a settings
screen: toggles look native everywhere without you
manually styling two different versions of the UI.
For polished navigation transitions, the Hero widget is
a simple but powerful tool. It’s especially useful in
image-heavy apps. For example, in a shopping app,
when a user taps a product image in a grid, the image
can smoothly “fly” into the product details page instead
of abruptly switching screens. The secret is using the
same tag on both widgets so Flutter knows what to
animate.
When your app needs live updates—like chat
messages, order tracking, or Firebase data—
StreamBuilder becomes essential. It listens to a stream
and rebuilds the UI every time new data arrives. A
practical example: show “Loading…” while waiting,
show an error message if something fails, and show
new values the moment they arrive. This is exactly
how many real-time dashboards and messaging screens
work.
For modern scrolling effects, SliverAppBar is a
favorite. It lets you build headers that expand, collapse,
pin to the top, or reappear when scrolling up. A real
example is a profile screen: a big header image
collapses into a small title bar as the user scrolls down,
and stays pinned so navigation remains accessible.
If you’ve ever seen the “yellow/black overflow”
warning in Flutter, Wrap is often the easiest fix. Unlike
a Row, which tries to force everything into one
horizontal line, Wrap automatically moves items to the
next line. A typical example is tags or category chips
on a product page—if there are too many, they neatly
wrap into a new row instead of breaking the layout.
For date and time selection, Flutter provides built-in
dialogs through showDatePicker() and
showTimePicker(). A common example is a booking
app: the user selects a date for an appointment and then
picks a time. Because these pickers look familiar to
users, they improve usability and reduce mistakes.
To build tab-style navigation, BottomNavigationBar is
one of the simplest solutions. You track a currentIndex,
update it on tap, and display a different page
accordingly. A common example is a three-tab layout:
Home, Search, and Profile. This pattern is everywhere
—social apps, shopping apps, and dashboards—
because users instantly understand it.
For quick animations between two widgets,
AnimatedCrossFade is a clean option. Think of a “grid
view vs list view” toggle: tap a button, and the UI
smoothly fades from one layout to the other. No heavy
animation controllers needed—just a boolean state and
a duration.
In layout design, Expanded and Flexible help you
control how much space widgets take inside a Row or
Column. For example, if you’re building a product row
with an image on the left and text on the right,
Expanded lets the text take the remaining space
without overflow. flex ratios also help you control
which elements get more room when the screen size
changes.
When working with async data—like loading a profile
from an API—FutureBuilder is a reliable pattern. You
show a loading spinner while waiting, show an error
message if something goes wrong, and display the final
result when ready. A practical example: load user data
on screen open, and add a “Refresh” button to re-run
the future.
To make any widget clickable, you’ll often use
GestureDetector or InkWell. GestureDetector is great
for raw interactions like taps, double taps, and long
presses. InkWell is ideal when you want a Material
ripple effect, like a real button. For example, turning a
custom card into a tappable element feels much more
natural with InkWell because users get visual feedback.
If you need zooming and panning—like viewing a
blueprint, map, or detailed product image—
InteractiveViewer is the right tool. A practical example
is allowing users to zoom into a technical diagram or a
high-resolution photo and drag it around naturally.
For user prompts and confirmations, AlertDialog is the
standard. For example, when someone tries to delete an
item, you show a dialog asking “Are you sure?” with
Cancel and Delete buttons. It prevents accidental
actions and gives the interface a professional feel.
Sometimes you’ll want to show or hide parts of the UI
without removing the widget completely. That’s where
Visibility is useful. A simple example is a “Show
advanced settings” toggle: when turned on, extra fields
appear; when turned off, they disappear.
To create swipeable screens—like onboarding slides—
PageView is the classic widget. A common example is
a three-page welcome flow: “Welcome,” “Features,”
and “Get Started.” Users can swipe naturally, and you
can add indicators or buttons to control the flow.
For structured data display—like comparing specs or
showing a mini report—Table helps you build simple
rows and columns. A practical example is a product
comparison section where you show “Battery,”
“Screen,” and “Price” across two models.
Finally, for design alignment and layout debugging,
GridPaper can overlay a grid on your screen. It’s not
something users see, but developers love it when
they’re trying to perfect spacing and alignment. And
for small UI hints, Tooltip is a simple win—wrap an
icon with a tooltip and users can long-press (or hover
on desktop) to understand what it does.